Event Driven Push Notification - Step 1
Description
This example shows how to configure a service into GreenVulcano ESB that can send a push notification using Firebase Cloud Messaging to a web application. You can get your app following the instructions on this link.
First of all we have to create a new Vulcon project: we can name it, for example, Step1_FinancePushNotification.
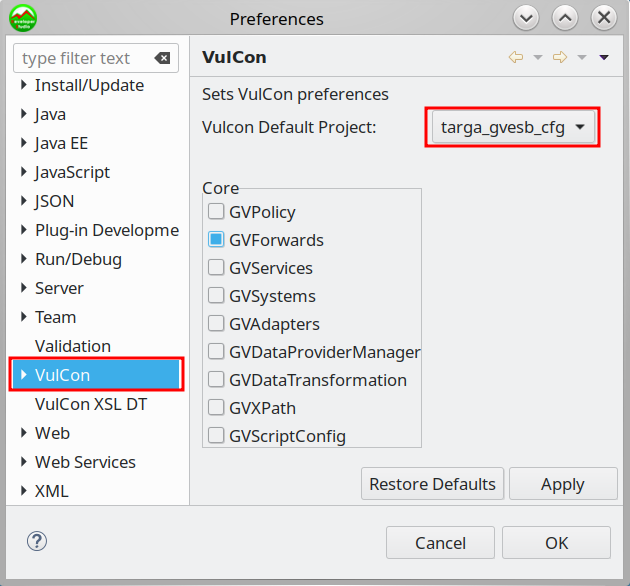
Note: if you want to switch between projects, you have to go to Window -> Preferences -> VulCon and select your project in Vulcon Default Project.
System setup
We have to set up a rest-call to Google API in order to send a message to the web application. To use it, we need to define a new System:
- Create a new System called “FCM” and a new Channel with the following attributes:
- endpoint = https://fcm.googleapis.com
- type = RESTAdapter
- id-channel = http_v1
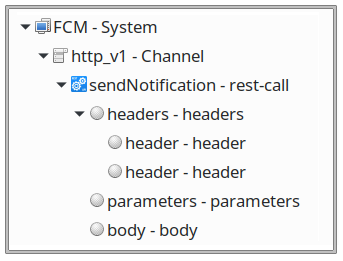
- Insert in the new channel a rest-call operation and name it sendNotification.
- Now set sendNotification’s attributes:
- type = call
- method = POST
- name = sendNotification
- request-uri = /fcm/send
- Set up sendNotification subelements:
- headers:
- header(name: Content-Type, value: application/JSON)
- header(name: Authorization, value: xmlp{{fcm.authorization}})
- parameters (empty)
- body:
- body:
{ "data":{ "notification": { "title": "News!", "body":"@{{MESSAGE}}" } }, "to": "@{{FCM_DEVICE_TOKEN}}", "priority":10 } - headers:
Flow setup
Once the System FCM is created we can start to build up the flow. So, create a new Service called PushNotification, a new Operation called Send, then open the flow editor.
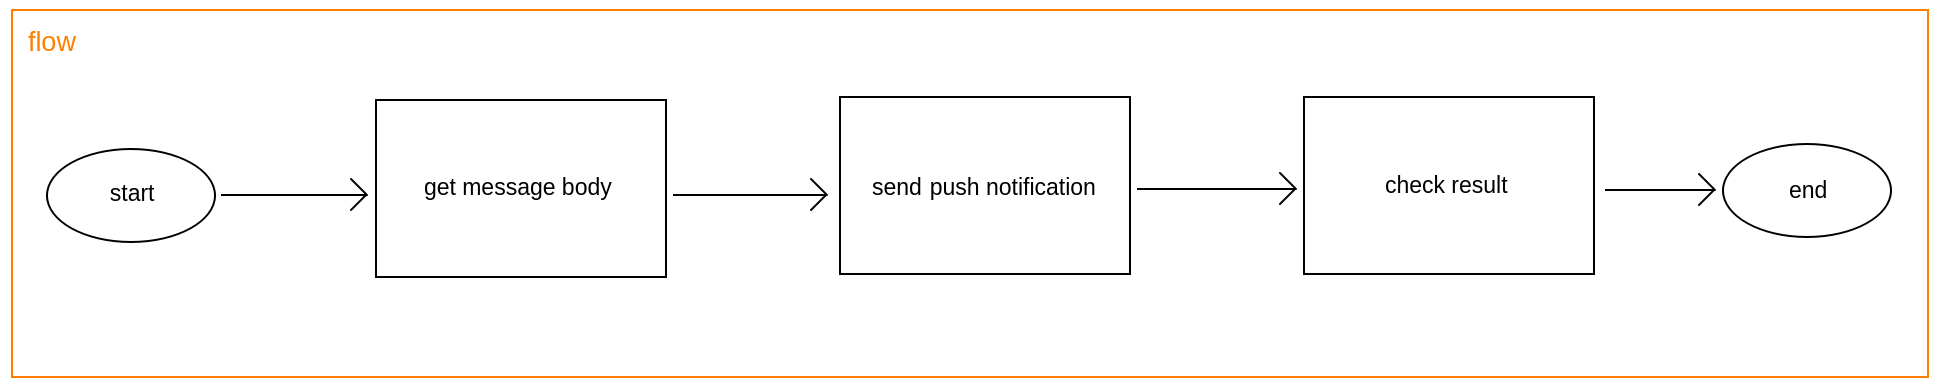
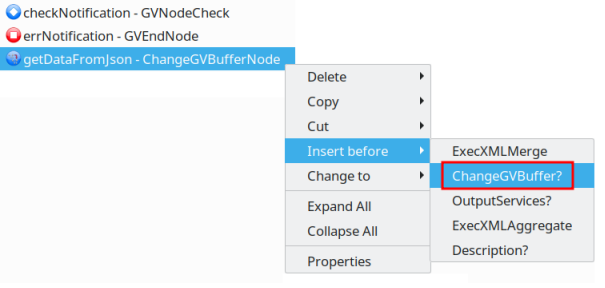
Now you have to create a flow like this:
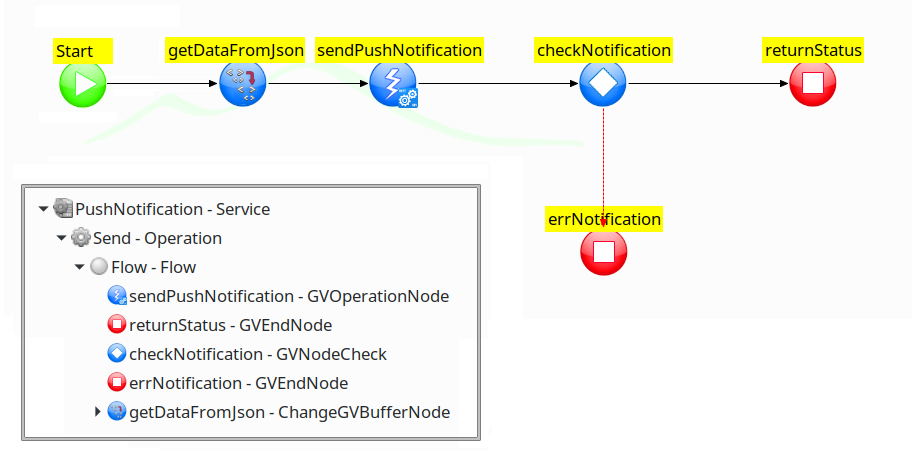
Flow nodes
getDataFromJson (ChangeGVBufferNode)
This node has the task to extract data from the incoming json and setup FCM_DEVICE_TOKEN and MESSAGE properties thet we need in owr flow (Click here to visit GV Buffer documentation page):
- id = getDataFromJson
- input = message
- next-node-id = sendPushNotification
- ChangeGVBufferNode:
- PropertyDef:
- name = FCM_DEVICE_TOKEN
- value = json{{fcm_device_token}}
- PropertyDef:
- name = MESSAGE
- value = json{{message}}
- PropertyDef:
sendPushNotification (GVOperationNode)
This node makes rest call to Google API, using the FCM System created before:
- output = notificationResponse
- id = sendPushNotification
- id-channel = http_v1
- id-system = FCM
- input = message
- next-node-id = checkNotification
- operation-name = sendNotification
- op-type = call
checkNotification (GVNodeCheck)
This node just check if the previous operation it was successful.
- default-id = returnStatus
- id = checkNotification
- input = notificationResponse
- on-exception-id = errNotification
returnStatus (GVEndNode)
This node return the result of the operation in case of success.
- id = returnStatus
- output = notificationResponse
errNotification (GVEndNode)
This node return the result of the operation in case of failure.
- id = errNotification
- output = notificationResponse
Testing with GV Console
Now you are able to test your VulCon Service from the GV Console®. But first you need to export the configuration:
- Click on File -> Export.
- Expand the element VulCon Export Tool and select VulCon Project. Click on Next button.
- Select the project Step1_FinancePushNotification and the output location of the zip file. Then Click Finish.
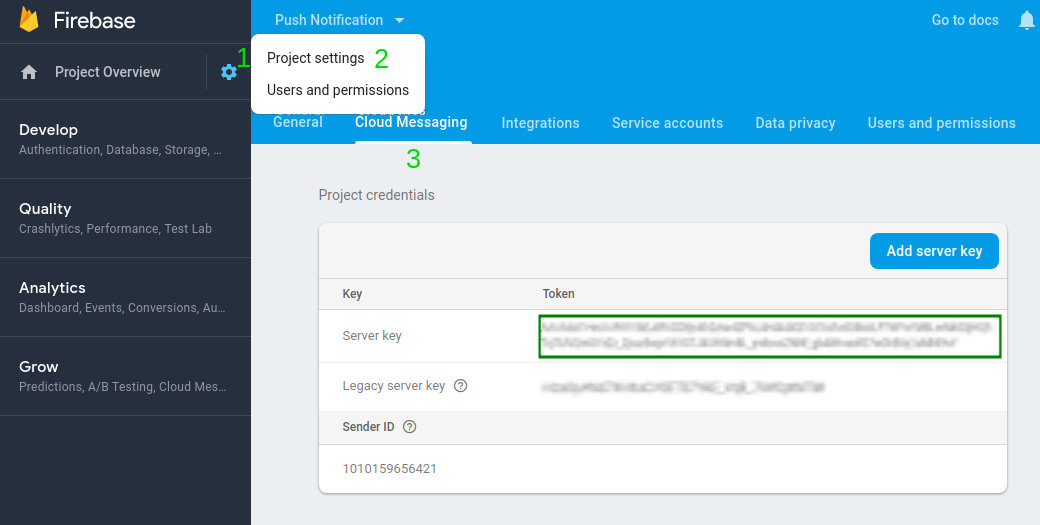
In order to test you project, you have to find your Firebase server key:
- Go to the Firebase console.
- Select your project.
- Click on settings
 > Project settings.
 - Select Cloud Messaging tab.
It is finally time to test your project. So, start GreenVulcano® ESB and the notification client, Access to the GV Console (http://localhost:8181/gvconsole/#/login - Username:gvadmin - Password:gvadmin) and deploy Step1_FinancePushNotification project setting your server key.

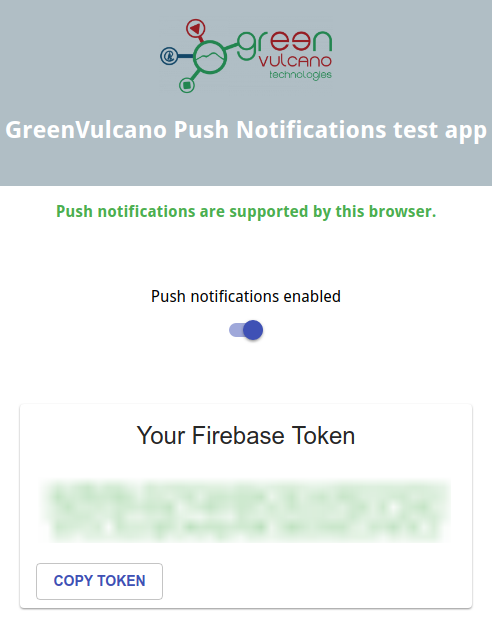
Once the configuration is deployed you can finally test it. Go to Execute section end select Send operation. To send a notify you have to insert a Json string. The device token is the code that you can find in the web app(*):
{ "fcm_device_token":"YOUR_FCM_DEVICE_TOKEN",
    "message":"Ehy mate!" }
() NOTE: the recommended browser to test the project is *Google Chrome.
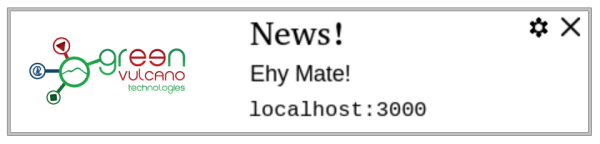
Now you can reiceve notifications by your Web Application:
If the output on your console starts with “base64”, you shoud add the property OBJECT_ENCODING = UTF-8.
Note: In case of error or exceptions you can check the file GVCore.log situated in the folder GV_HOME/data/log/.
Download
Here you can download the configuration: